Customers
Understanding Your Customer Base
Overview
This guide shows how to create and manage custom fields to capture customer-specific data, as well as how to define and organize spending profiles based on customer habits. Finally, it shows the customer database merger process across multiple locations.
Prerequisites
- You must have an Admin or Sub-Admin role.
Types of Customer Settings
MX Merchant offers three types of customer-related settings. You can read more about them in the sections below.
Custom Fields
This section can be used to capture additional data on your customers. There are no boundaries to their use, so if you feel there is something important to add or see, you can add these elements.
Creating a New Field
- Click + Add Field.
- Now you will see the pop-up below with the following fields. Fill them in as needed:
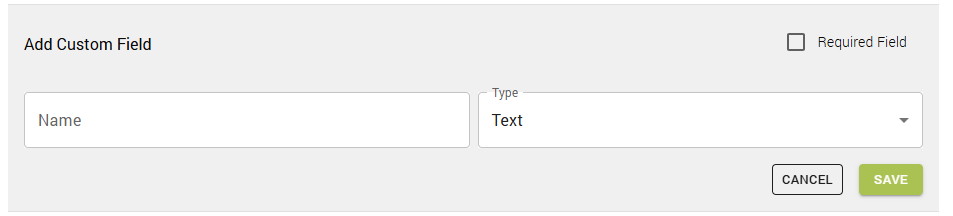
- Name - Name summarizing the information you need to collected.
- Required Field - If this box is checked, the user will be required to enter this information. Otherwise, the field will be optional.
- Type - What is allowed as a response to the field: Text, Yes/No, Number, Decimal, List.
- Text - Free form text box.
- Yes/No - User can only choose Yes or No.
- Number - Number from 0 to 9 (no decimals).
- Decimal - Number that may include decimals
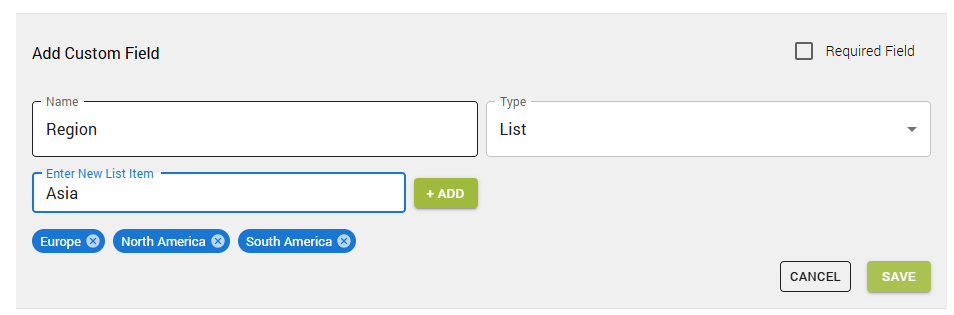
- List - Predefined list of option from which an option must be selected. To add an option to the list, write it in the Enter New List Item and either click + Add or press Enter ↩ on your keyboard.
- Save.
Note:
- At any one time, there can only up to 10 custom fields.
- The Enter New List Item field only appears when the type List is selected.
Editing and Deleting Existing Fields
To edit an existing custom field:
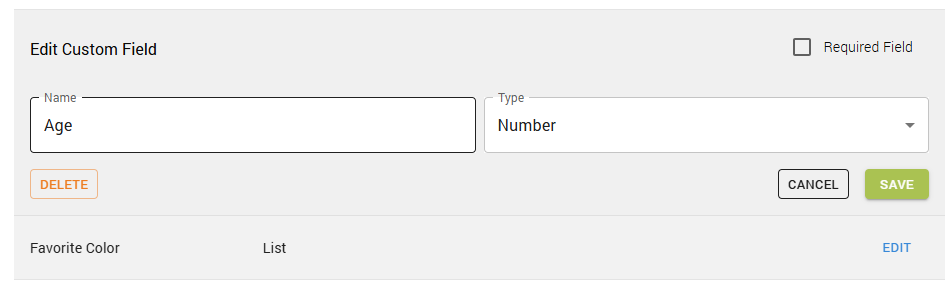
- Click on the blue Edit button on the rightmost column. This will display options identical to those of + Add Field, which you may adjust as needed.

- You may perform the following actions:
- Click Save to keep the changes made to the field.
- Click Cancel to save the field as it was before you made the adjustments.
- Click Delete to eliminate the field entirely.
Note:
If you click Delete, it will ask you to confirm the action, since it can't be undone later.
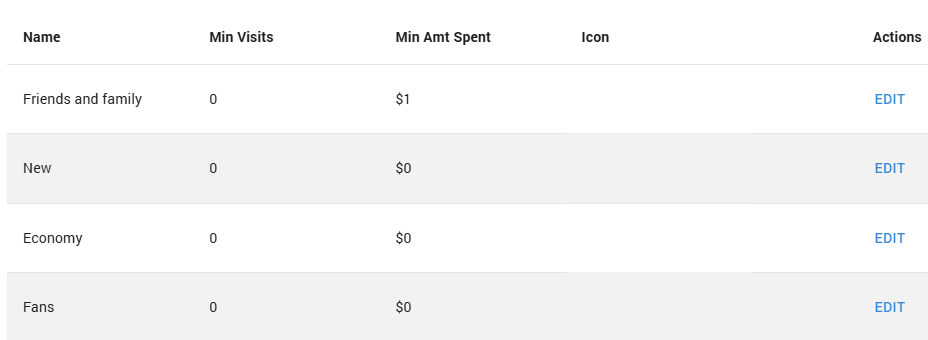
Spending Profiles
Spending profiles are used to organize your customers based on their spending habits within your business. Spend profiles are automatically calculating the sales and visit for each customer when a payment is made so you don't have to. That is why it is so important to add the customer name to the payments. As a default, you have 6 spend profiles created for you. However, you can change them to better fit your business.
Creating a New Spending Profile
In order to create a new spending profile:
- Click + Add Profile.
- Now you will see the pop-up below with the following fields. Fill them in as needed:
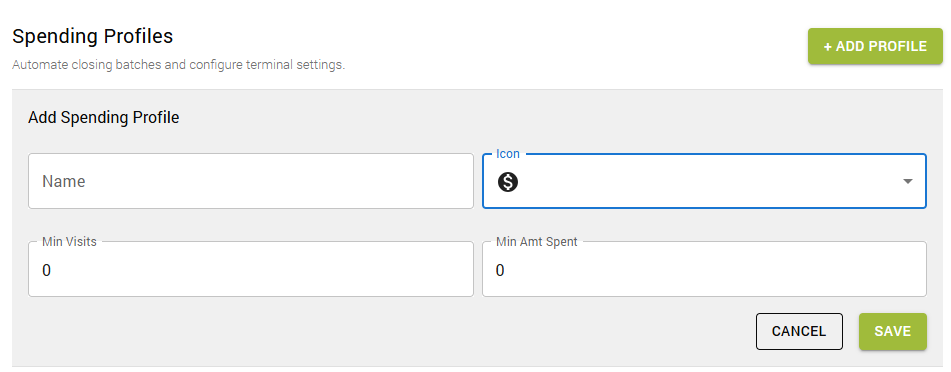
- Name - Name defining the spending profile.
- Icon - Symbol to represent the spending profile in the Dashboard.
- Min Visits - Minimum number of visits required for a customer to be classified in this spending profile.
- Min Amt Spent - Minimum dollar amount that a customer must spend to be classified in this spending profile.
- Save.
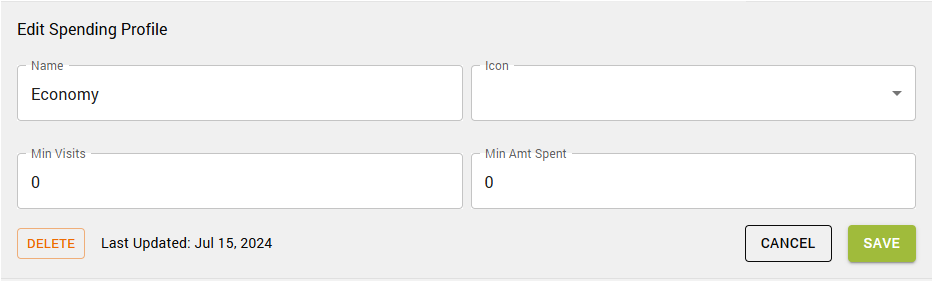
Editing and Deleting Existing Spending Profiles
To edit a spending profile:
- Click on the blue Edit button on the rightmost column. This will display options identical to those of + Add Profile, which you may adjust as needed.
-
You may perform the following actions:
- Click Save to keep the changes made to the spending profile.
- Click Cancel to save the spending profile as it was before you made the adjustments.
- Click Delete to eliminate the spending profile entirely.
Note:
If you click Delete, it will ask you to confirm the action, since it can't be undone later.
Customer Database
If you have multilocations or multimerchants, and would like to merge the customers so the same customer record appears on multiple accounts, you can do so by using the customer database.
To merge customer lists with another location:
-
Click Change Database.
-
When the pop-up window appears, click the location where the customers will be merged.

- Save.
Note:
- Only users with admin or supervisor access can complete this task.
- Once a customer list is merged with another location, the process is permanent, and it can't be undone later.
Additional Resources
Videos
- Customers Grid: Instruction Video
Click on the image below to watch the video.

Updated 20 days ago