Manage Settings
Easily manage every setting for your business
Discover how to configure every key aspect of MX Merchant, from payments and invoices to user management and fraud prevention, through clear and actionable setup guides.
Overview
In this guide, you’ll learn how to navigate and customize the full range of MX Merchant settings. Each section explains how to manage payments, receipts, customers, notifications, team access, compliance, and more, helping you tailor the platform to your business needs and maintain secure, efficient operations.
Prerequisites
- To adjust settings, the user must have a Supervisor, Admin or Sub-Admin role.
Accessing Settings
- Click Settings on MX™ Merchant's left-side menu.
- You'll find the following areas. Learn a bit about each one below:
- General
- Payments
- Customers
- Loss Prevention
- Receipts
- Notifications
- Team
- Compliance
- Invoices
- Retail
- Sales Tax
- Applications / API
- Discounts
- Payment Links
- Terminals
- MX ePay
General
MX Merchant lets you view key account and business details, such as your legal, owner, and contact information. It also shows statement delivery options, time zone, and deposit account details.
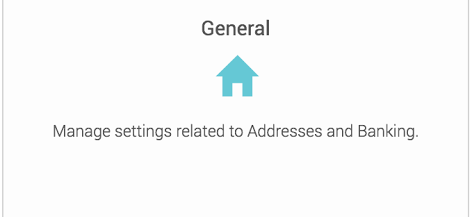
Tasks include:
- Viewing business and owner info
- Checking statement delivery method
- Reviewing deposit and legal information
Learn more in the General guide
Note:
These settings can only be modified by users with an Admin or Sub-Admin role. This means that Supervisors cannot modify them.
Payments
This section helps tailor payment processing preferences for your business. You can automate batch closing, control accepted payment types, prevent duplicate payments, and set defaults for Quick Pay and MX Express.

Tasks include:
- Setting batch auto-close times
- Selecting accepted tender types
- Configuring duplicate payment checks
- Managing Quick Pay defaults
Learn more in the Payments guide
Customers
Create and manage customer data fields, define spending profiles, and merge databases across multiple locations to maintain unified customer records.
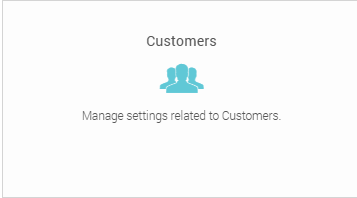
Tasks include:
- Creating custom fields
- Managing spending profiles
- Merging customer databases
Learn more in the Customers guide
Loss Prevention
Configure fraud-prevention rules for swiped, keyed, and check payments. You can require address, postal code, or check details and automatically decline mismatched transactions.
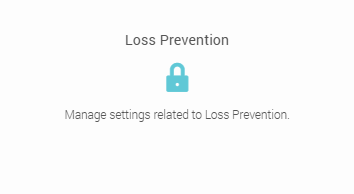
Tasks include:
- Setting security prompts for transactions
- Enabling auto-decline for mismatched data
Learn more in the Loss Prevention guide
Receipts
Customize your receipts by adding logos, headers, and return policies. Choose what information to show, such as tips, transaction history, and contact details.
Tasks include:
- Adding a header message or logo
- Managing return policy text
- Controlling visible receipt elements
Learn more in the Receipts guide
Notifications
Set up alerts to monitor key account events like payments, refunds, deposits, and chargebacks. You can send notifications via email, SMS, webhook, or browser alert.
Tasks include:
- Adding and customizing notifications
- Choosing delivery methods
- Monitoring business activity
Learn more in the Notifications guide
Team
Manage user access and security. Assign roles such as Admin, Supervisor, Clerk, or Read Only, and set permissions, time limits, and payment caps.
Tasks include:
- Adding and editing team members
- Assigning roles and permissions
- Setting access times and limits
Learn more in the Team guide
Compliance
Monitor your PCI compliance and tax ID validation status. This section displays PCI expiration details, ControlScan app integration, and TIN verification.
Tasks include:
- Viewing PCI DSS status
- Checking TIN validation history
Learn more in the Compliance guide
Invoices
Define invoice defaults, reminders, and recurring payment plans. Set delivery methods, accepted tenders, and automated schedules.
Tasks include:
- Setting default terms and reminders
- Managing recurring invoice plans
Learn more in the Invoices guide
Retail
Manage product catalog settings, including SKUs, variants, tags, and inventory tracking to keep product data consistent and searchable.
Tasks include:
- Creating SKUs and variants
- Adding tags and managing inventory
Learn more in the Retail guide
Sales Tax
Add and manage tax rates and categories to ensure accurate transaction taxation.
Tasks include:
- Creating and editing tax rates
- Assigning tax categories
Learn more in the Sales Tax guide
Applications / API
Generate, view, and manage API keys for integration with third-party apps. This allows developers to connect external systems securely.
Tasks include:
- Creating API keys
- Viewing consumer keys and secrets
- Managing app access
Learn more in the Applications / API guide
Discounts
Configure discount settings to apply price reductions during checkout or promotions.
Tasks include:
- Setting discount rules and types
Learn more in the Discounts guide
Payment Links
Create and embed payment forms on your website. Customize fields, design, and redirect URLs to simplify online payment collection.
Tasks include:
- Creating and activating payment links
- Adding custom fields
- Customizing link design
Learn more in the Payment Links guide
Terminals
MX Merchant allows you to view, add, and modify payment terminals. You can configure model type, card entry methods, tip options, and smart tips. The section distinguishes between integrated and semi-integrated terminals, explaining permissions and contact details for terminal setup support.
Tasks include:
- Adding and configuring terminals
- Managing enabled/disabled status
- Setting up smart tip options
Learn more in the Terminals guide here
MX ePay
This option allows you to create a custom website for customers to view invoices from your business.
Tasks include:
- Customizing your website for viewing invoices
- Adding a logo to your website
- Cutomizing the available payment methods for your invoices
Learn more in the MX ePay guide here
Updated 20 days ago