Retail
Setup for Retail
Manage and customize your retail catalog in MX Merchant with tools for tracking inventory, organizing products, and defining default order sources.
Overview
The retail settings allow you to configure how MX Merchant handles your retail catalog and incoming orders. These settings control how inventory is tracked, how products are categorized, and how order sources are identified. In this section, you'll learn how to customize product data, manage tags and variants, and define your default order source.
Prerequisites
- To adjust retail settings, the user must have an Admin or Sub-Admin role.
Viewing your Retail Settings
Upon clicking Retail in the Settings page, you'll see two tabs:
You can learn mora about each one below.
Products
The Products tab offers five customization options:
- Track Inventory - If enabled, MX Merchant automatically adjust stock levels each time an item is sold or returned. You can enable or disable it by selecting Yes or No.
- SKU - If enabled, a new SKU (Stock Keeping Unit) code will be automatically generated unique every time you add a new product.
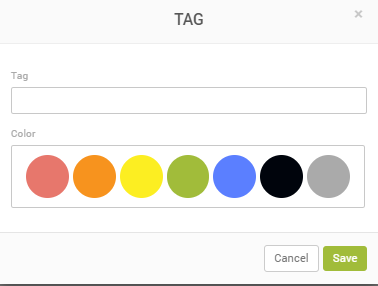
- Tags - Tags help you categorize and organize products.
- To create a tag,
- Click + Add Tag.
- Enter a name for the new tag.
- Choose a color for the new tag.
- Save.
- To create a tag,
-
To modify a tag,
- Click the tag you want to edit.
- Update the necessary information.
- Save.
-
To delete a tag,
- Click the tag you want to delete.
- Delete.
-
Variant Options - Variant options allow you to add products that come in multiple variations (such as size or color).
- To create a tag,
- Click + Add Variant Option.
- Enter a name for the new variant option.
- Save.
- To modify a tag,
- Click the variant you want to edit.
- Update the necessary information.
- Save.
- To delete a tag,
- Click the variant you want to delete.
- Delete.
- To create a tag,
-
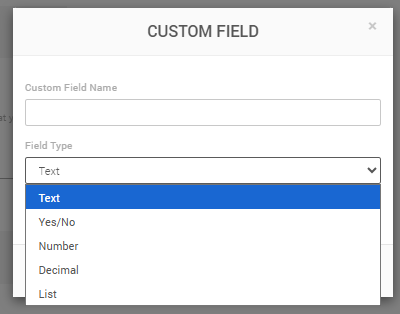
Customize Your Products - Custom fields allow you to add additional information such as brand, material, or country of origin.
- To create a tag,
- Click + Add Custom Field.
- Enter a name for the new custom field.
- Choose the Field Type:
- Text - Enter free text.
- Boolean - Select either Yes or No
- Number - Enter an Integer (example: 4500)
- Decimal - Enter number with decimals (example: 23,45)
- List - Select one option from a list. When creating the field, write in the options separated with a comma (example: Red, Blue, Green, Black). This way, the user will be able to select one of them (example: Green)
- Choose whether the field is Required: Yes or No.
- Save.
- To create a tag,
- To modify a tag,
- Click the custom field you want to edit.
- Update the necessary information.
- Save.
- To delete a tag,
- Click the custom field you want to delete.
- Delete.
Note:
Whenever you are finished editing product settings, don't forget to Save. Otherwise, all changes will be discarded.
Orders
The Orders tab offers only one option:
- Default Source Type - This ensures that every new order has a predefined origin unless the user manually changes it. To modify it,
- Select Web, Telephone, or POS.
- Save.
Updated 20 days ago