Team
Securing Your Account with Team Roles
Overview
Creating security for your business is important and the use of team members and the proper roles are an important measure, since they allow you to pick how much or little of your account you want your users to see.
Prerequisites
- To adjust team settings, the user must have an Admin or Sub-Admin role.
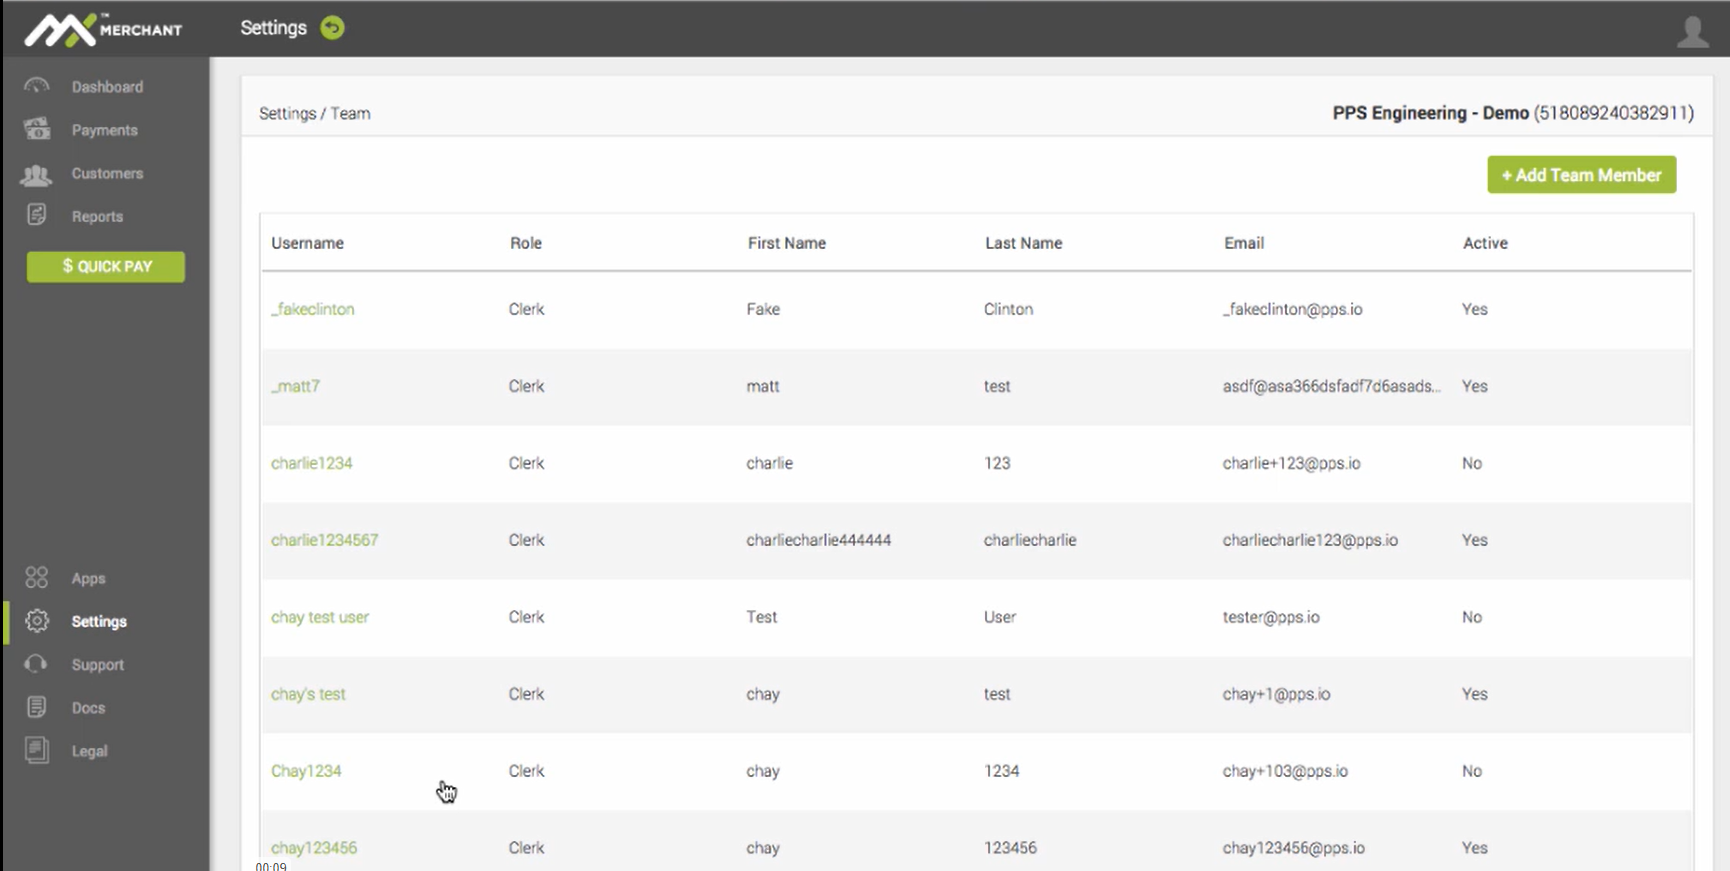
Viewing Current Team
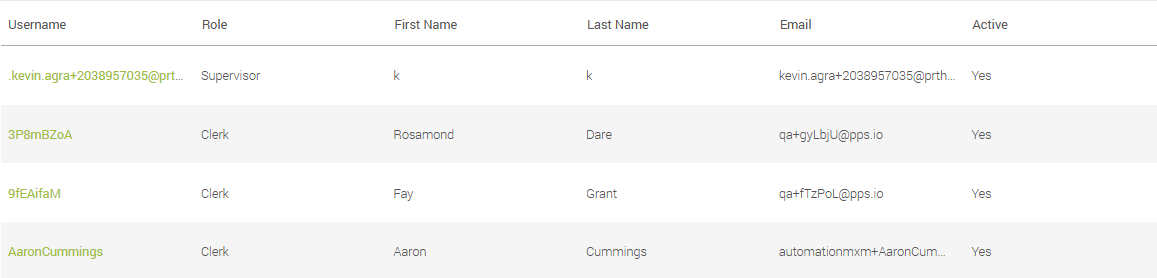
Upon clicking Team in your Settings, you'll find a list of all your team members, with the following information:
- Username - Unique name created for the team member.
- Role - Role assigned to the team member: Supervisor, Clerk or Read Only.
- First Name - Team member's given name.
- Last Name -Team member's surname.
- Email -Team member's email address.
- Active - Team member's activity status: Yes (active) or No (inactive).
Team Management
Member Roles
Before looking at the team member creation and modification processes, it is important to understand the different kinds of team members on MX Merchant:
Admin
This is the most generous role, allowing the merchant to see and use all the applications and settings on MX Merchant.
Supervisor
This role has all of the permissions of an Admin, with one important exception: This role lack access to the General settings. This prevents the modification of business information (legal data, owner information, etc.).
Clerk
This role has a limited scope, which allows it to perform Quick Pay transactions, process payments and manage customer information, and access MX Merchant support documentation.
Read Only
This is the most restricted role, since it only enables viewing payments, customer information and support documentation.
Summary
Here is a brief summary of the options that each role can access:
| App | Admin | Supervisor | Clerk | Read Only |
|---|---|---|---|---|
| Quick Pay | ✓ | ✓ | ✓ | |
| Authorize | ✓ | ✓ | ||
| Settle Funds | ✓ | ✓ | ||
| Dashboard | ✓ | ✓ | ✓ | |
| Payments | ✓ | ✓ | ||
| Payments | ✓ | ✓ | ✓ | ✓ |
| Batches | ✓ | ✓ | ✓ | ✓ |
| Customers | ✓ | ✓ | ✓ | ✓ |
| Reports | ✓ | |||
| Deposits | ✓ | ✓ | ||
| Settlement | ✓ | ✓ | ||
| Chargeback | ✓ | ✓ | ||
| Apps | ✓ | ✓ | ||
| Settings | ✓ | ✓ | ||
| General | ✓ | |||
| Payments | ✓ | ✓ | ||
| Customers | ✓ | ✓ | ||
| Loss Prevention | ✓ | ✓ | ||
| Receipts | ✓ | ✓ | ||
| Notifications | ✓ | ✓ | ||
| Team | ✓ | ✓ | ||
| Compliance | ✓ | ✓ | ||
| Billing | ✓ | ✓ | ||
| Support | ✓ | ✓ | ✓ | ✓ |
| Support | ✓ | ✓ | ✓ | ✓ |
| Updates | ✓ | ✓ | ✓ | ✓ |
| Docs | ✓ | ✓ | ✓ | ✓ |
| Legal | ✓ | ✓ | ✓ | ✓ |
Creating a team member
In order to create a new team member in your organization:
- Click + Add Team Member
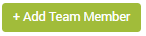
- You'll see a pop-up window, with all the information required to create the new team member.
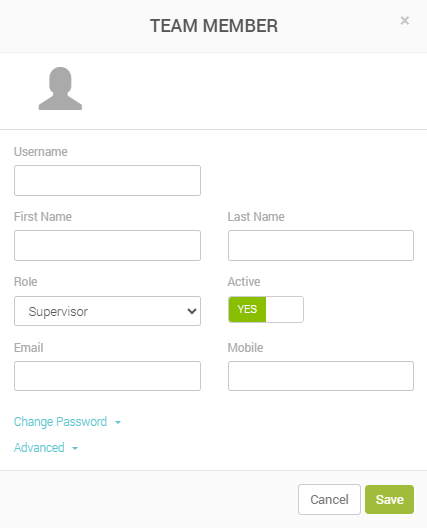
- Fill out the following information:
- Username - Unique name created for the team member.
- First name - Team member's given name.
- Last name - Team member's surname.
- Role - Role to be assigned to the team member: Supervisor, Clerk or Read Only. To learn more about each role, see here.
- Active - Team member's activity status: Yes (active) or No (inactive).
- Email - Team member's email address.
- Mobile - Team member's (mobile) phone number.
- In order to assign a password for the first time, click Change Password, and fill in the password for the new team member. Make sure to write the exact same text in both fields.

-
Click Advanced in order to display some security settings.
-
Fill out the following information:
Time Access
- Days - Days of the week on which the new team member will have access: S (Sunday), M (Monday), T (Tuesday), W (Wednesday), T (Thursday), F (Friday) and S (Saturday).
- Start Time - Time at which the team member will be able to log in every day. Ideally, it aligns with the start of their shift.
- End Time - Time at which the team member will be automatically logged out every day. Ideally, it aligns with the end of their shift.
Payment Limits
- Max Sale - Maximum daily dollar amount that the team member will be able to receive in payments.
- Max Refund - Maximum daily dollar amount that the team member will be able to give out in refunds.
- Click Save.
Modifying an existing member
In order to modify information pertaining to an existing member of your team:
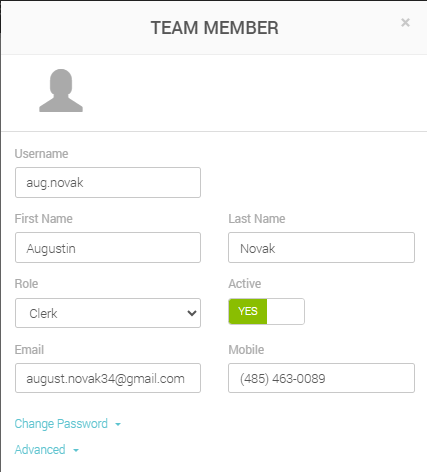
- Click the username of the team member (written in green) on the leftmost column.

-
You'll see a pop-up window, which will be nearly identical to the one used for creating a new team member. You may adjust all the information as needed.
-
Unlike in the process for creating a new team member, you will also see the following window. Mark the way (mobile phone and/or email) where you would like the team member to receive:
- Verification codes for two-factor authentication.
- Alerts for sign-ins from an unknown device or for successful DDA updates.
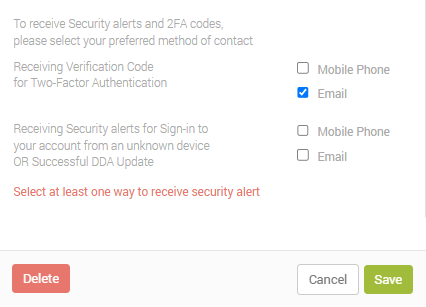
- Finally, you can click one of the following options.
- Save to keep the changes made to the team member.
- Delete to eliminate the team member from the record.
- Cancel to discard all the changes made and return the record to its initial state.
Additional Resources
MX Merchant Creating Users - Video Tutorial
Updated 20 days ago