Invoices
Manage Invoice Information
Create, manage, and collect payments on invoices by adding customers, setting billing terms, attaching items, and enabling online payments—all in one streamlined workflow.
Overview
The Invoices feature allows you to easily create, send, and manage invoices from start to finish. You can add customers, define billing terms, include items and attachments, and enable online payments for faster collection. Once sent, invoices can be tracked, updated, and paid directly from the invoice table.
Prerequisites
- For the purpose of requesting agreement from the customer, they must have an email address registered.
Viewing your Invoices
Open the table, you see this:
- Invoice # - Unique identifier assigned to the invoice for tracking and reference purposes.
- Customer - Name or identifier of the customer to whom the invoice is issued.
- Total - Total amount billed on the invoice, including all applicable charges and taxes.
- Status - Current state of the invoice in its lifecycle (for example, Draft, Sent, Paid, or Overdue).
- Invoice Date - Date on which the invoice was generated or issued.
- Due Date - Date by which the invoice payment is expected to be received.
- Terms - Payment terms that define when and how the invoice must be paid (for example, Net 30).
Managing Invoices
Creating an Invoice
In order to create a new invoice:
-
In the Invoices section, click + Add Invoice, on the upper right-hand corner.
-
You will see the following sections to fill in. Read below or click on each one to learn more:
- After filling out the necessary information, you can:
- Save - This will save the invoice without sending it to your customer or having them make a payment.
- Save & Send - This will save the invoice and send it to your customer via email. After it is saved, you may add a payment later.
- Add Payement - This will prompt the customer to make a payment.
External Invoice Reference Number
If you enter an external invoice reference number, it will replace the default invoice number.
By default, MX Merchant creates an invoice number automatically. However, you need a specific number for any reason, you can enter your own in this field.
Note:
The external invoice reference number is alphanumeric (can include digits and letters). This number can be up to eight characters long.
Customer
If you already have existing customers registered, you can simply click the Customer Name bar and select them.
Otherwise, if the customer is not registered yet:
- Click the Customer Name bar, then click Add New Customer.
- Fill in the following information:
- Type - Indicate whether the customer is a Person or a Business.
- Status - Indicate whether the customer is Active or Inactive.
- First Name - Customer's first name.
- Last Name - Customer's first name.
- Spend Profile - Category that describes how and where the customer spends money.
- Tax ID - 9-digit tax identifier.
- Tax Exempt - Indicate whether the customer is exempt from paying taxes.
- Customer Number - Unique number to identify this customer on MX Merchant. You may create this number freely.
- Promotions - Indicate whether the customer will Opt In or Opt Out of promotions
Note:
If Business is selected as the Type, the field Business Name will be shown instead of First Name and Last Name.
- Add the Customer Email and Customer Mobile.
- Add The billing and shipping addresses in Bill to and Ship to respectively.
Billing
Fill in the following information:
- Invoice Date - Day on which the invoice was issued.
- Due Date - Day on which the invoice must be paid:
- Upon Receipt – Payment is due immediately when the invoice is received.
- Net 15 – Payment is due 15 days after the invoice date.
- Net 30 – Payment is due 30 days after the invoice date.
- Net 60 – Payment is due 60 days after the invoice date.
- Net 90 – Payment is due 90 days after the invoice date.
- Custom – Payment due date is set manually to a specific date. You may click on a specific day on the calendar.
- PO Number - Unique identifier assigned to a purchase order to track and reference a specific transaction.
- Pay Online - When enabled, allows customers to pay online. Doing so will enable the option Accepted payment methods. Here, check the Credit card option to enable card payments.
Items
In order to add items to the invoice:
- Click + Add Item to add a new one.
- Fill in the following information:
- Product - Name of the product.
- Description - Brief description of the product.
- Quantity - Number of units included.
- Price - Retail price of the product
- Tax and Discounts - By pressing the arrow to the left of each product, you can appy discounts and taxes
- **Memo** - Additional information about the invoice. This is completely optional.
Attachments
In this section, you may attach files related to the invoice (images, receipts, contracts, and the like). To do so, click Upload and select the appropriate files. This is completely optional.
Using Existing Invoices
You can access an existing invoice by either clicking it on the invoice table (see Viewing your Invoices) or by clicking Save and Send after you create it (see Creating an invoice).
If the invoice is unpaid, an Unpaid tag will show up in the top-right corner.
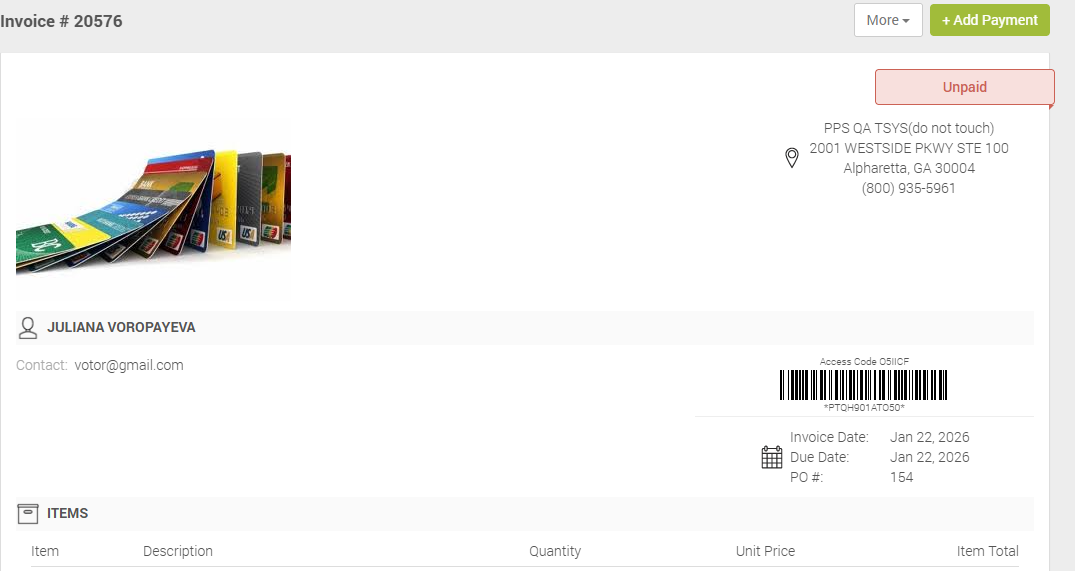
If this is the case, to start a payment process:
- Click + Add Payment.
- You will be prompted to process the payment. Fill in the required information as if you were using Quick Pay.
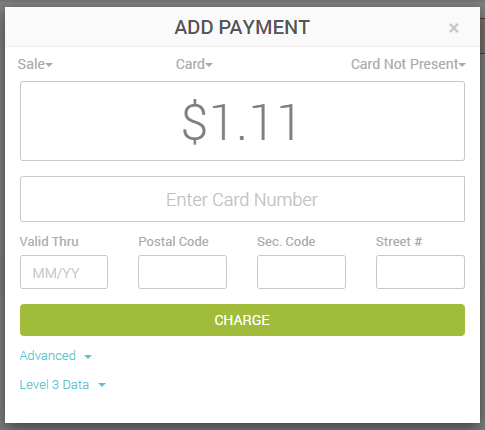
- Charge.
Additional Resources
Videos
- Creating Users: Instruction Video
Updated 20 days ago